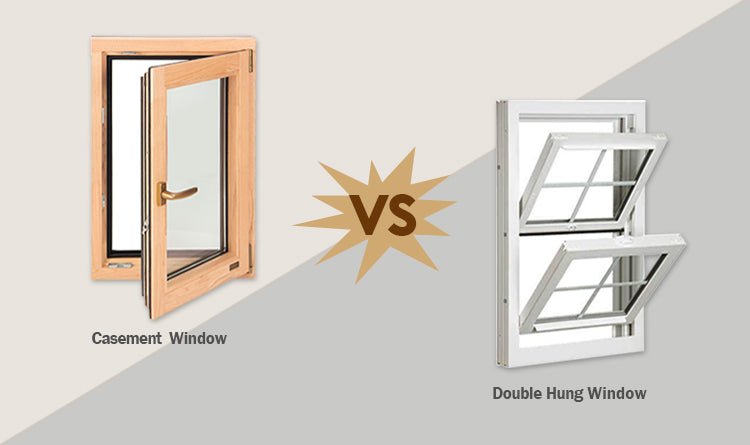
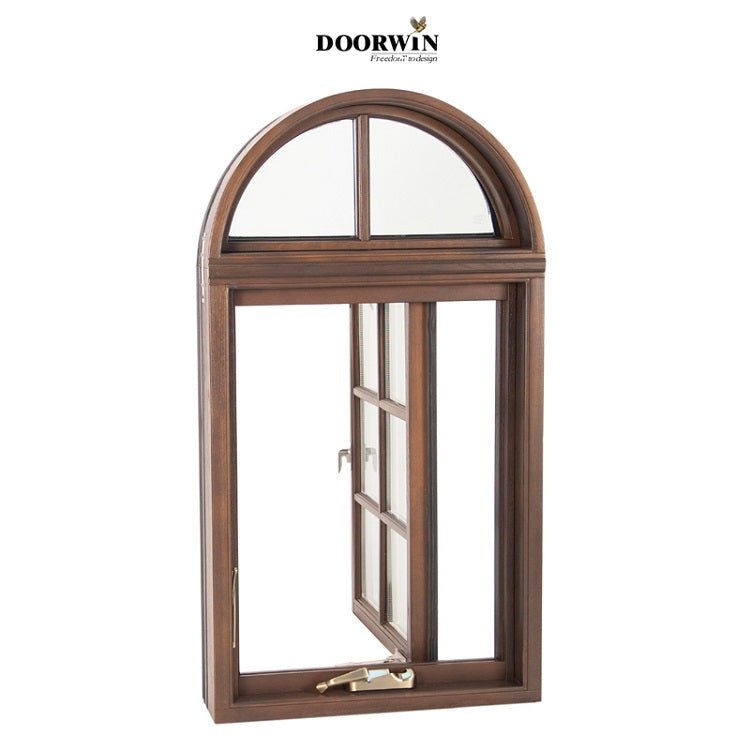
A casement window looks simple on a drawing. One side is hinged, the sash swings out, and the crank does the work. On site, the choice is rarely that tidy. A kitchen counter may put the handle farther away than expected. A tall wall opening may push the sash beyond a practical hardware range. Exterior cladding may crowd the drainage path. This is why a good casement specification starts with the installed condition, not with a catalog image. For kitchens and tall openings, the main question is practical: will the window open cleanly, seal well, and still feel easy to use after the wall, trim, screen, and glass package are all in place?
Begin With the Awkward Parts of the Room
The best-looking window on an elevation can still be the wrong one if the room layout conflicts with the opening path. Kitchens are a common example. A sink, faucet, countertop depth, backsplash, shade, or shelf can turn a suitable casement layout into an awkward daily reach. Tall stair openings and narrow side walls bring another problem: the window may look balanced, but the sash weight and wind exposure can make operation less friendly than expected.
A kitchen window has to be reachable
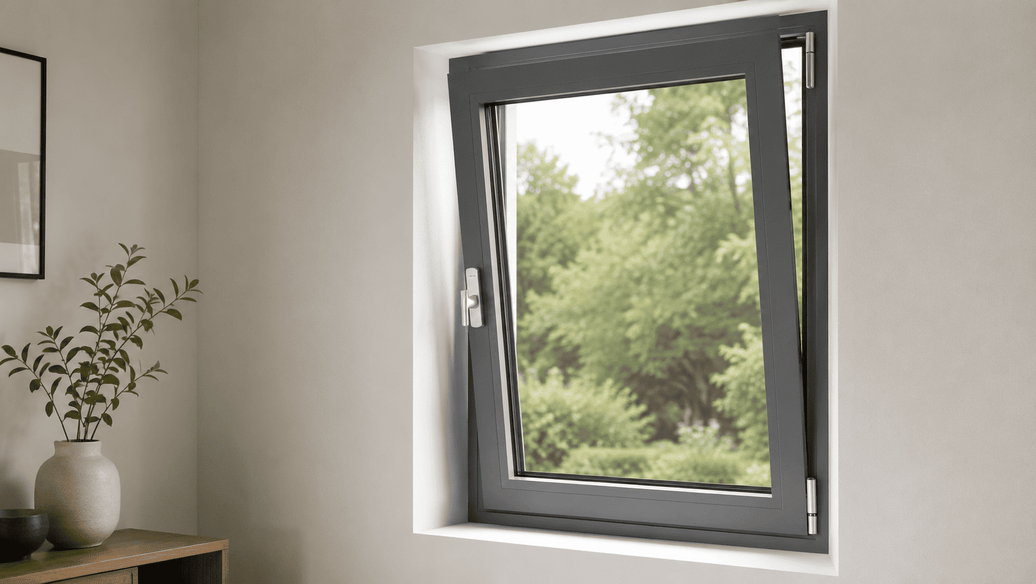
A kitchen casement window often makes sense because the crank can be easier than pushing or lifting a sash over a counter. That advantage depends on details people notice only after installation. The handle needs room to turn. The lock should not hide behind trim. The screen should come out without fighting the faucet or shade. If the counter is deep, a lower handle location may matter more than a larger glass area. A quick reach review during design can catch those problems before the window schedule is frozen.
Tall openings need a hardware reality check
Tall glass gives a room better daylight and a cleaner vertical line, but a tall operable sash is not just a taller picture window. Hinges, stays, crank hardware, and the frame all carry more responsibility. Wind can also load an outward-opening sash in a way that feels different from a fixed pane. The quote should confirm sash size range, opening angle, glass weight, and hardware capacity for the actual unit. If a supplier recommends a smaller sash or a different split, that may be a service-life decision, not a downgrade.
Do Not Separate the Frame From the Wall Detail
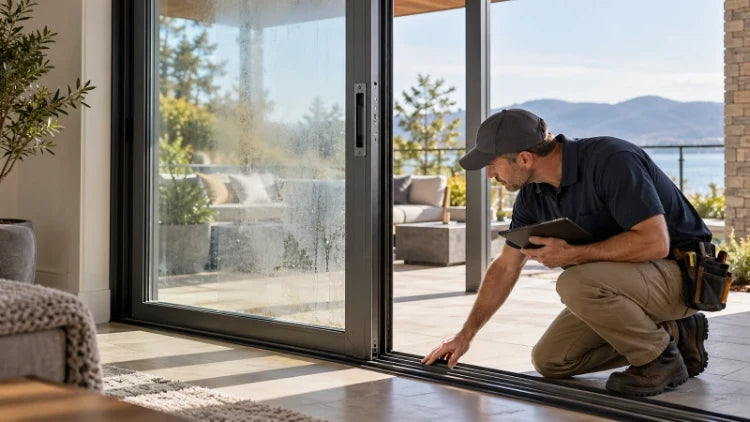
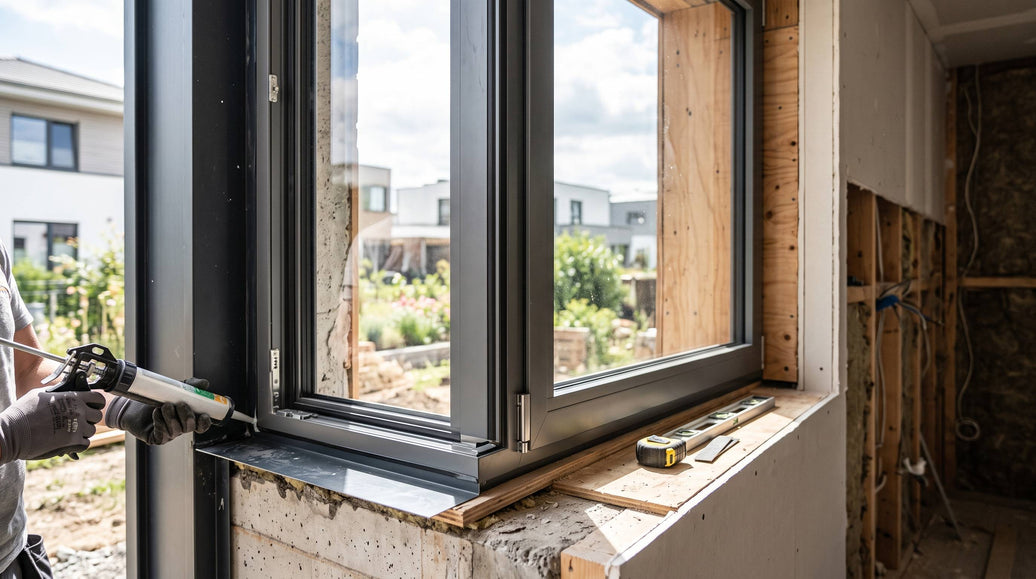
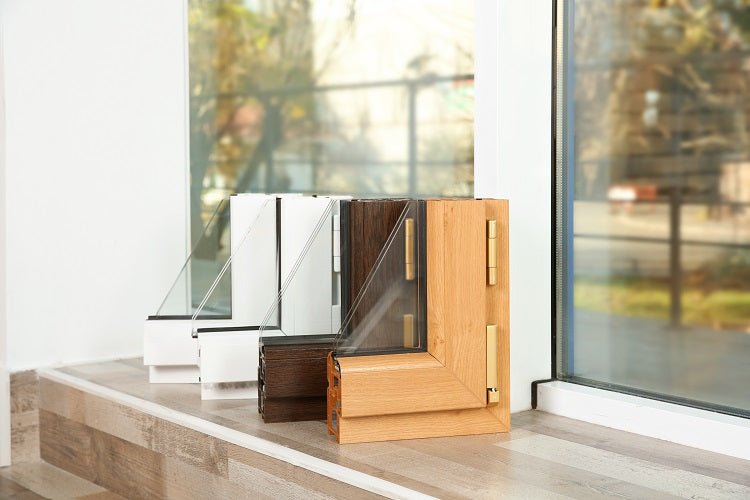
A casement window frame does a lot of quiet work. It supports the sash, holds the gasket line, receives hardware, manages incidental water, and connects the unit to the wall. When frame depth is reviewed too late, the installer is left to solve problems with trim extensions, sealant, or field adjustments. That usually costs more time than a proper section drawing would have taken.
Frame depth should be checked against finished surfaces
Deep walls, brick returns, stucco, rainscreen cladding, or thick interior casing can change how the casement unit sits. A shallow frame may need extra trim. A deeper frame may crowd the interior, change the screen position, or make the handle feel recessed. The shop drawing should show the frame, sash, anchoring area, interior finish, exterior finish, and drainage exit. Those details are not glamorous. They are the reason the window feels built into the wall instead of added later.
Drainage is not a note to leave until installation
Water management matters more on exposed walls and tall openings. A sloped sill, weep path, pressure-equalized drainage opening, drainage cover, and exterior sealant line all need a clear route. If cladding or stone blocks that route, the window may look finished while the frame loses the path it needs. Aluminum casement systems can perform well in modern walls, but the drainage detail has to stay visible in the order review. A clean drawing beats a long argument after rain shows the weak spot.
Choose Glass With the Sash in Mind
Glass decisions can quietly change everything else. Low-E coatings, laminated glass, double-pane units, and triple-pane units affect comfort, glare, sound, weight, and hardware selection. The NFRC window and door ratings help buyers compare performance categories such as U-factor, solar heat gain, visible light, and air leakage. Those terms are useful because they move the discussion away from vague promises. Still, numbers on a label should be read together with room orientation and operable sash limits.
A sunny kitchen may need a different glass balance than a shaded stair wall. A large pane facing afternoon sun may call for better solar control, while a cold-climate opening may put more weight on insulation at the frame and glass edge. The glass package should also be checked against sash weight. A heavier insulated unit can be the right comfort choice, but only if the hinges, crank, and frame are sized for it. Treat glass as part of the working window, not as a last-minute upgrade line.
Match the Product Choice to the Design Checks

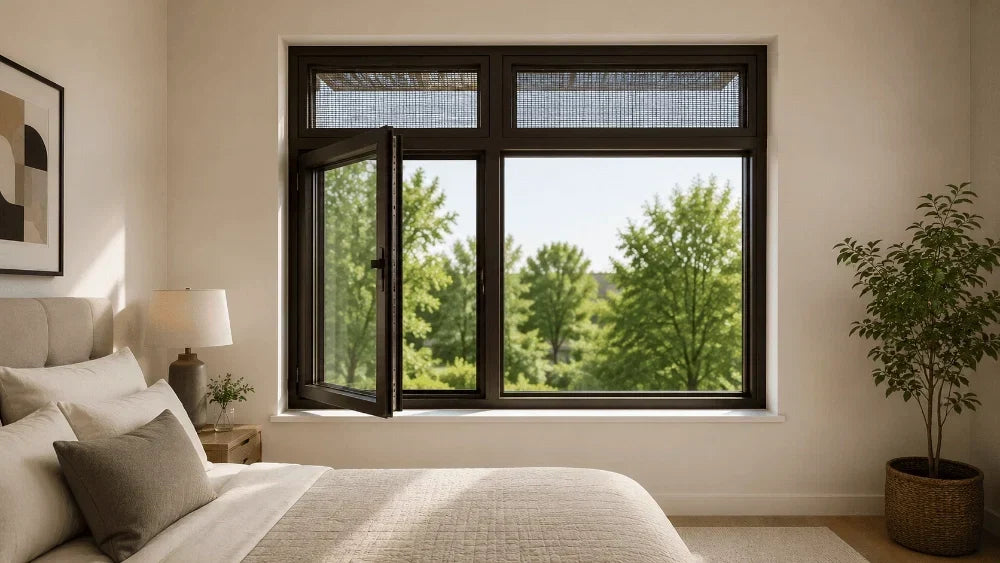
For kitchen counters and other openings where direct access to the sash is limited, the Luvindow Alu-Wood Crank Out Windows provide a practical product option. The side-hinged sash opens outward through a hand-crank system, making daily operation easier above a sink or deep counter. The aluminum-clad wood construction combines a finished wood interior with exterior weather protection, while available glazing configurations include double-pane Low-E glass, warm-edge spacers, argon gas, and fully tempered glass. The final order should still confirm sash direction, opening size, glass package, grille design, screen type, finish, hardware, and installation method.
For projects with several openings, the crank out casement windows collection works as a broader category entry while the team compares configurations. A kitchen opening, a tall stair opening, and a smaller service-room opening may all use casement logic, but they may not need the same sash size or glass package. Looking at the individual unit and the category together keeps the choice tied to real openings rather than a general product comparison. That matters in renovation work, where one wall can have its own limits.
A good handoff package is plain but valuable. It should include the opening schedule, finished wall section, interior elevation, exterior condition, preferred screen type, glass goal, and any limit on handle projection. If the window sits above a counter, add the counter depth and faucet height. If it sits in a tall wall, add the expected sill height and any nearby return wall. These details help the quote describe the real window, not a generic casement unit that later needs adjustment. It also clarifies which questions belong to the window supplier, which belong to the installer, and which belong to the builder before the order is released. That small pause can save a later site meeting.
Move From Planning Checks to a Product Conversation
After the opening, reach, sash load, frame depth, drainage, and glass goals are clear, LUVINDOW can review the project as a focused window discussion. A useful brief includes opening dimensions, wall build-up, operation preference, glass goals, exposure notes, and any required rating or local review item. That keeps the conversation tied to a buildable casement unit instead of a broad request for a nice-looking window. It also gives the supplier fewer assumptions to fill in, which is especially helpful when the opening is tall, the counter is deep, or exterior exposure is high.
A Useful Next Check for Kitchen Sink Openings
Readers still weighing operation above a sink can also compare casement and awning choices for kitchen sink openings near the end of planning. That comparison belongs after the room, reach, and wall checks are clear, because the real decision is whether a crank-out casement unit will work in this specific opening.
Conclusion
A casement window for a kitchen or tall opening should be planned from daily use backward. Reach, sash swing, frame depth, drainage, glass weight, and hardware capacity all affect the final result. A product choice can narrow the specification, but the real approval should come from the room layout, wall section, and shop drawing. When those checks are ready, project teams can share the opening details for a focused window discussion. The most useful inquiry is not a broad request for a general recommendation. It is a short package of opening dimensions, wall build-up, operation preference, glass goals, exposure notes, and any local review item. That gives the recommendation something real to respond to and reduces late changes to sash size, screen type, or glass after pricing has started.
FAQ
Q: Is a casement window good for a kitchen sink area?
A: Yes, when the handle, lock, sill height, faucet clearance, and screen access are checked before ordering. A crank-out window can be easier to use over a counter, but only if the finished layout supports it.
Q: Why does sash size matter on a tall casement window?
A: A taller sash can add weight and wind load to the hinges and crank hardware. The exact size range and hardware capacity should be confirmed for the chosen frame and glass package.
Q: Should the glass package be selected before the frame?
A: No. Glass, frame, and hardware should be reviewed together. A heavier or higher-performing glass package may change sash limits, operation feel, and installation details.